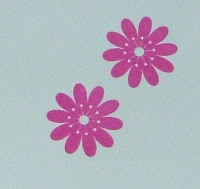
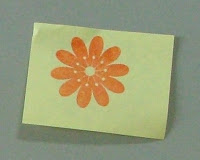
1) Stamp image on card stock.

2) Stamp it again onto a sticky note. Make sure the stamping is done on the reverse side from the stickiness.

3) Cut carefully around the sticky note image, cutting just inside the lines. This is the mask. (The mask is stamped in pink ink from hereon - disregard the orange color above :) )
4) Stick the mask on top of the card stock image. The sticky note stays put on the cs. Stamp another image over the mask.

5) Remove the mask to see your layered flower bouquet images.
Tips:
1) Instead of using a sticky note, you can use thin printer paper for your mask. Apply temporary adhesive to get it to stick to your original cs image. A 2-way glue pen is perfect for this task, becomes it becomes tacky, like a sticky note, after it dries. A cs mask is often too thick to work well, so avoid cs as a mask. Any thin paper or even a torn paper towel can be used.
2) You can move a mask to various areas on your project. For a flower arrangement like this one, you might move the flower mask numerous times onto different flowers.
3) Store the mask with the appropriate stamp set so it can be used again as needed. The mask may need to be replaced occasionally.
Next week I will post about “reverse masking”.
Let me know how your masking goes!
Linda :)


No comments:
Post a Comment